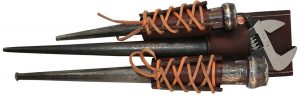
 Stone chisel is hit with heavier type of hammer to increase the force, so it is to be tough and heavy. For example, a rock chisel for demolition work is typically used with a hammer weighing three pounds or more.
You can also find brick bolsters with a wide and flat blade that are used for cutting. Sculptors work with a bent spoon chisels with the bevel on both sides, etc.
In our post we’ll discuss the most common chisel types to help you make an informed decision and find the best tool for your project.
Table of Contents
Stone Chisel: What is it Made of?
Common steel the industry uses for stone chisels is shallow hardening alloys with a high amount of carbon. The rock chisel should be hardened, and a temper is drawn from the center to the ends. Thicker tools are made softer than ones with thinner shanks. Over time, the top of the chisel begin to mushroom. Remove flared metal with a grinder, or they may fly off and cause injury.
Chisels for large scale stone removal are often made of chrome vanadium steel. And tools with a softer shaft in my practice work the best by far. The shafts on fully hardened chisels would split quickly.
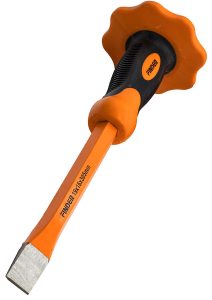
Good example of reliable tool is an treated chrome-vanadium Finder chisel. The handguard of the tool protects the hand from overstrike, but it is not very tough. It may break after several hard hits. Nevertheless we recommend to buy the product for the indestructible chisel and take into account that you can always buy or make your own guard.
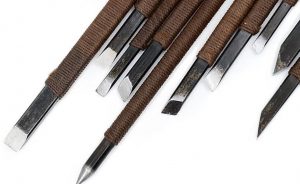
For fine carving work, sculptors use Mn Alloy Steel chisels with asymmetrically ground edges or even tungsten carbide tipped ones. Carbide tools are very brittle. But they are very hard and keep the cutting edge sharp for a long time. It is very important if you are working hard stone.
Choosing the Best Rock Chisel for Your Project
If you work with stone a lot, you’d be fine with a range of cold chisel sizes. Bigger rock chisels for the bigger cobblestone, smaller – for breaking stone down a bit further. My advice is to get chisels with hand guards; There is nothing more frustrating than hitting your wrist or hand with a hammer!
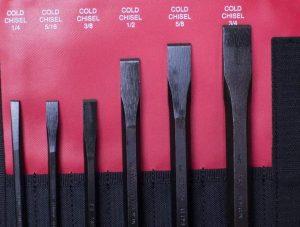
Masonry chisels will work fine for some types of rock. The hardened “cold” chisels are tougher and come in all sizes too. You will definitely find a use for a several small cold chisels and they will cost for about $10 each.
Choosing Rock Hammer and Chisel Set
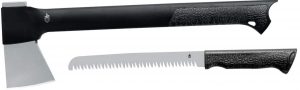
The handle and the head of the rock hammer is all one piece of steel. The head has an end that looks more like a pick and another side is for striking. One piece construction helps to deal with the amount of force to break the rocks and withstand heavy load. Hammers with polymer shock-absorbing grips are much more comfortable than leather ones. Some of these “rubber” type handles are durable and may last decades. Don’t use common carpenter hammers because they aren’t designed for pounding against steel chisel or rock and sometimes they spall shards or shatter.
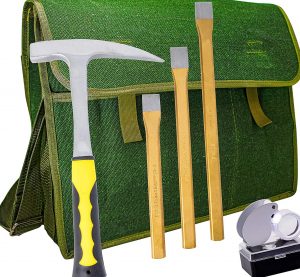
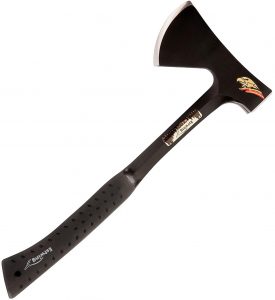
I believe the Estwing hammer and the chisels you personally choose are the best bet on rock hammer and chisel set. And in my humble opinion, a crack hammer is a tool you should always have in your inventory. With it you’ll be able to split small rocks and work larger boulders with a chisel.
The crack hammer will last forever, but the pick end wear out or even may break off. All you will need is to re-sharpen the end and eventually buy a new one. The only con is that the hammer hasn’t enough weight really get much work done on their own.
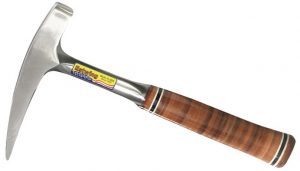
Estwing is the best choice of prospectors, rockhounds and contractors – longest lasting striking tools available. This is a great and tough tool, it feels good in the hand, has a great balance and nice grip. Yes, Estwing cost a little more, but it worth every penny.
Conclusions
Choosing the stone chisel depends on the type and size of rock you are working and what your goals are.
If you are a professional, the only choice is to buy high quality tools from known brand. Low quality chisels become dull quick, their back ends flare easily. Cheap noname hammers comes with a tube handle that bend after several missed hits, the rubber handle come loose, etc.
Nevertheless, a novice or occasional master should think about choosing a cheap set of chisels and more or less reliable hammer. Yes, they won’t last long, but you’ll find out sizes and types you really need and will replace it with a high-quality tool later.
Read also our article best paring chisel


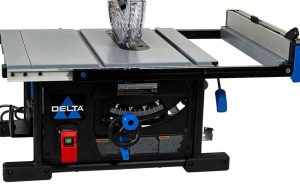
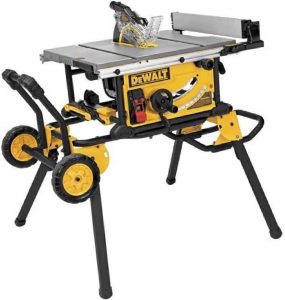
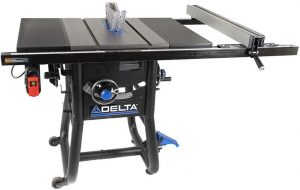
![Best Table Saw for Beginners: Tips for Beginner Woodworker [2021]](https://bestdrillbit.com/wp-content/uploads/2021/05/best-table-saw-for-beginners-1-1200x713.jpg)


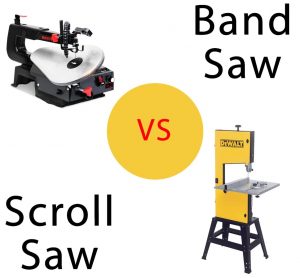
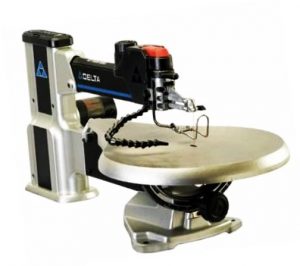
![Scroll Saw vs Band Saw Review and Comparison [2021]](https://bestdrillbit.com/wp-content/uploads/2021/05/scroll-saw-vs-band-saw.jpg)

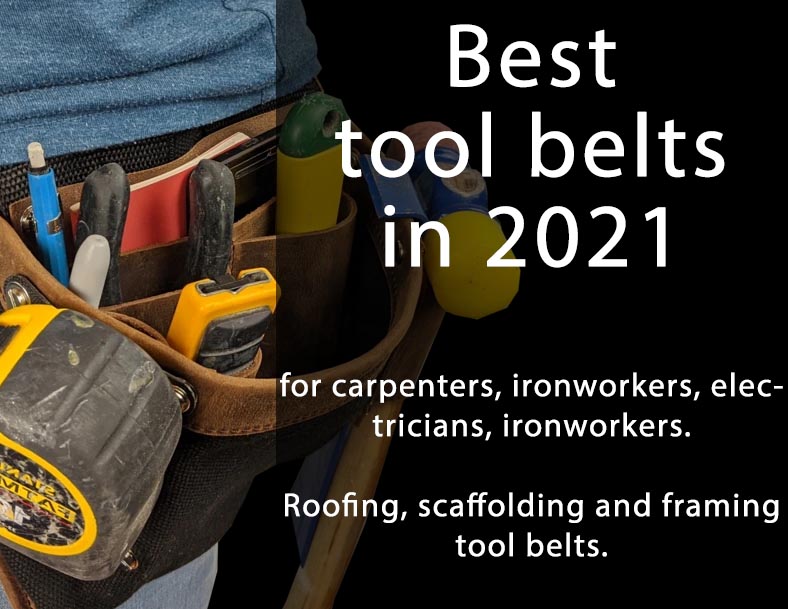
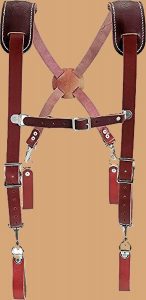
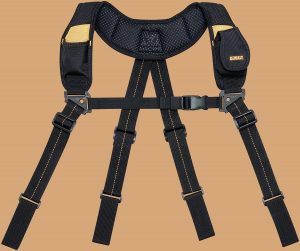
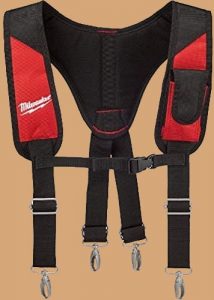
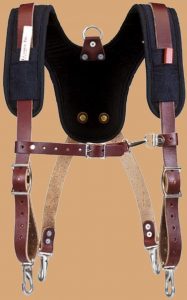
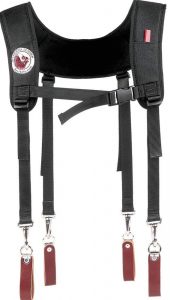
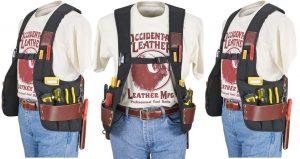
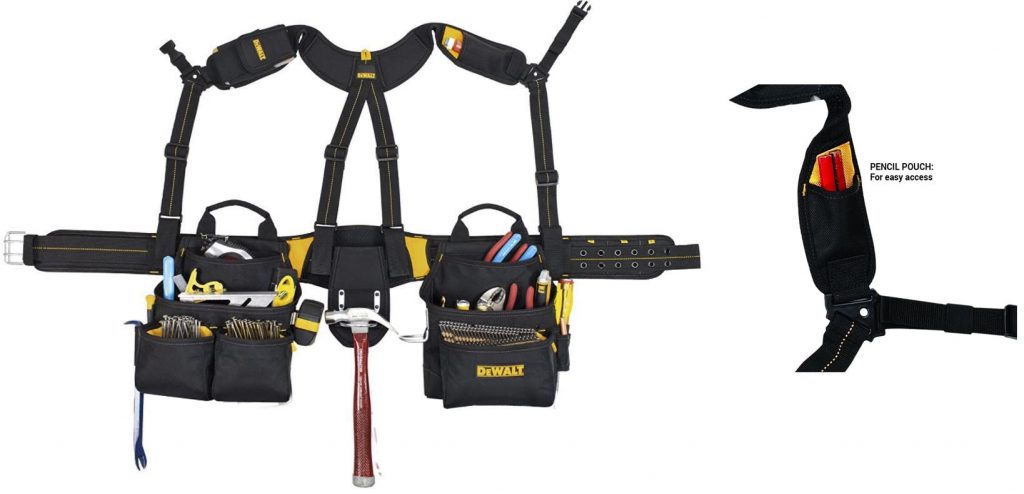
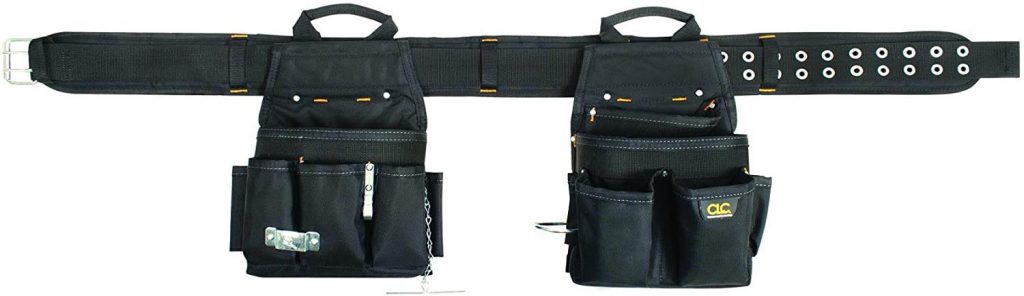
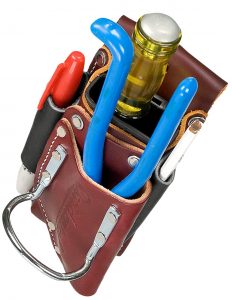
 Tool belts are needed for professional workers to help them when they are working away from their tool box of tools. For example, an electrician may work at a height, the ironworker may work on the floor which is too narrow to place anything, etc. In our article, we will help you to choose the best carpenter’s tool belt, as well as offer options that are convenient for electricians, ironworkers. We’ll also review roofing, scaffold and framing tool belts.
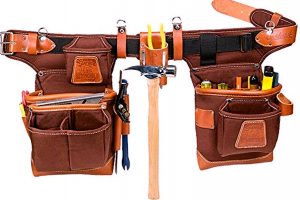

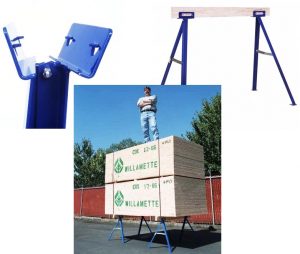
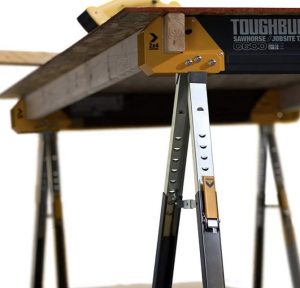

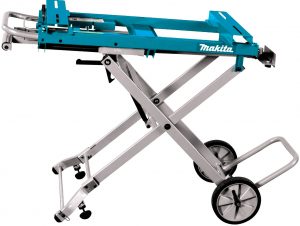
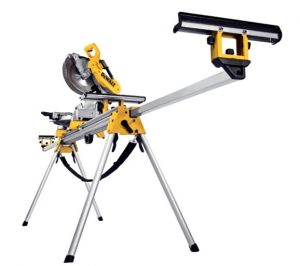
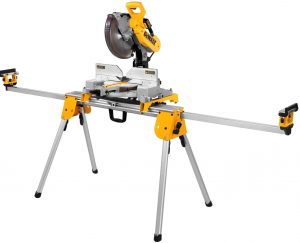
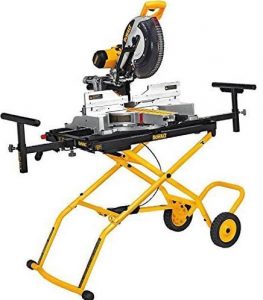
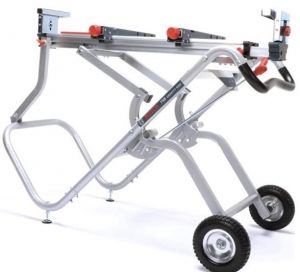
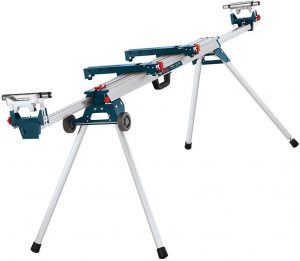
 For small projects you can just clamp miter saw to a workstation, but cutting miters into lengthy trim pieces needs a real stand. Most of woodworkers don’t really want a bunch of bell and whistles, best miter saw stand should be as light as possible an at the same time sturdy and reliable. The unit will definitely be transported back and forth, so it should not be weak and fragile. However, the stand is not a tool that you will use 24/7, so it shouldn’t cost you an arm and a leg either. Read our article to make an informed decision and purchase the best tool. Any and all suggestions and comments are welcome and appreciated.
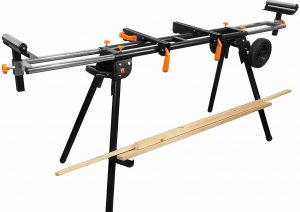
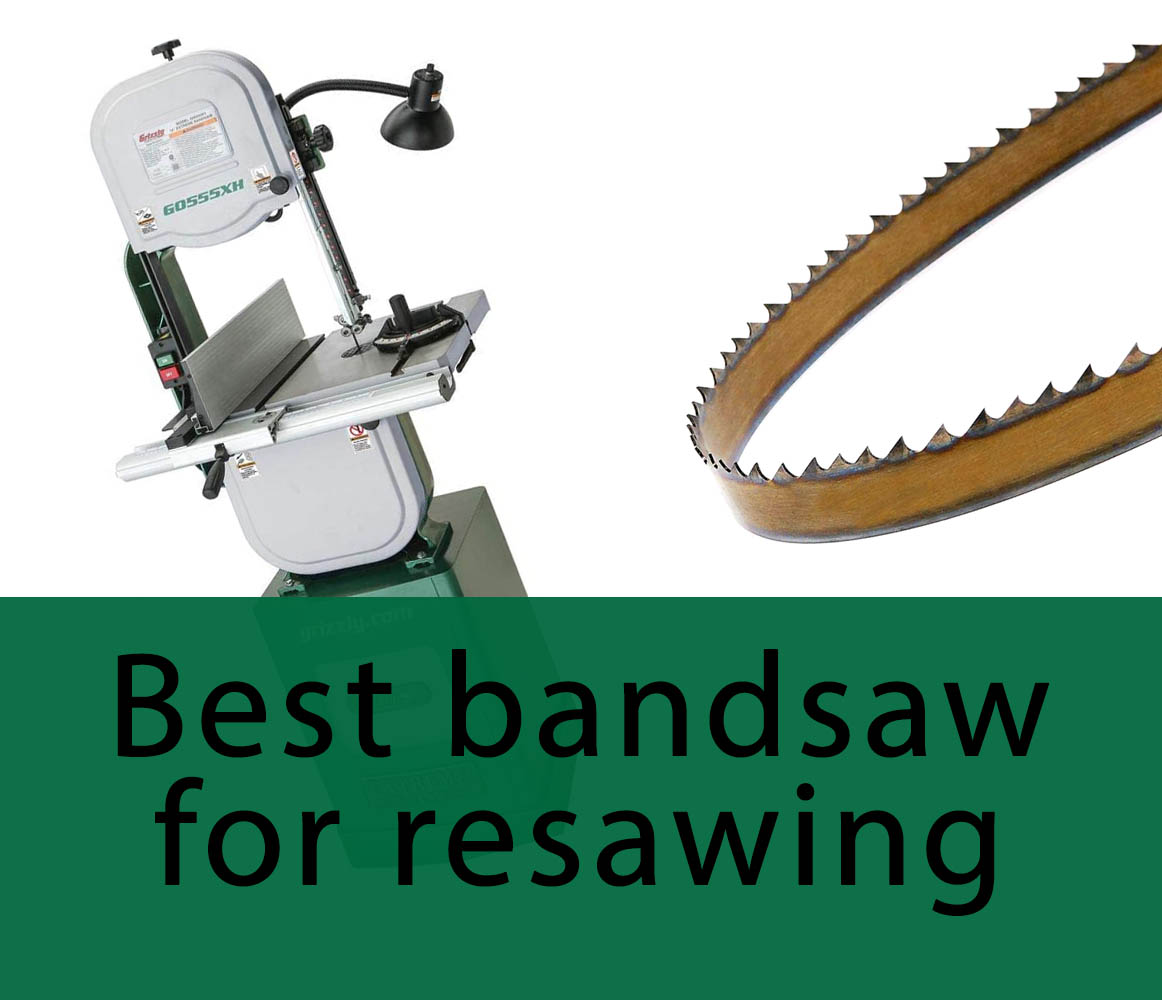
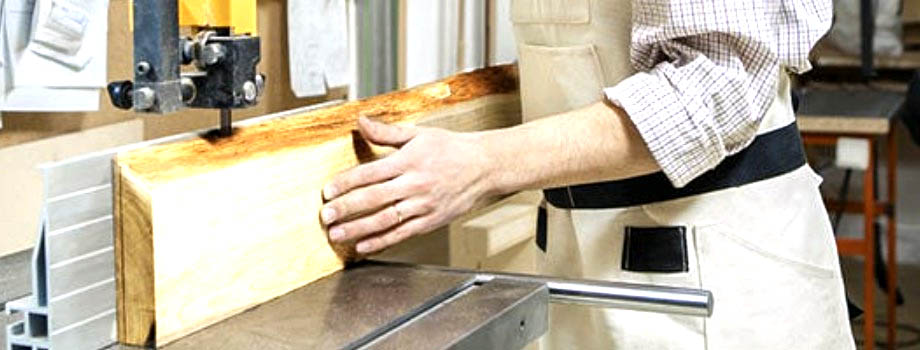
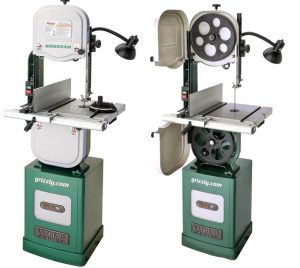
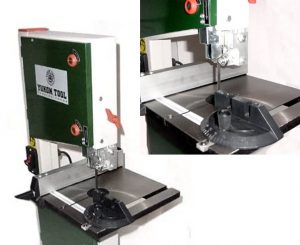
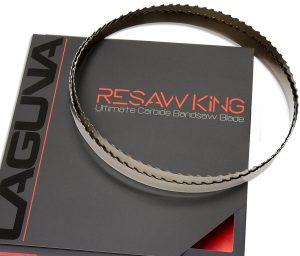
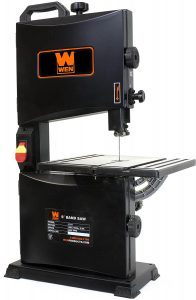
 Nothing could be worse using a crappy bandsaw to do a bunch of stuff, nobody wants struggling and complaining about it the whole time. We’ll help you to find best bandsaw for resawing with a lot of oomph to be super happy with it. And for affordable price.